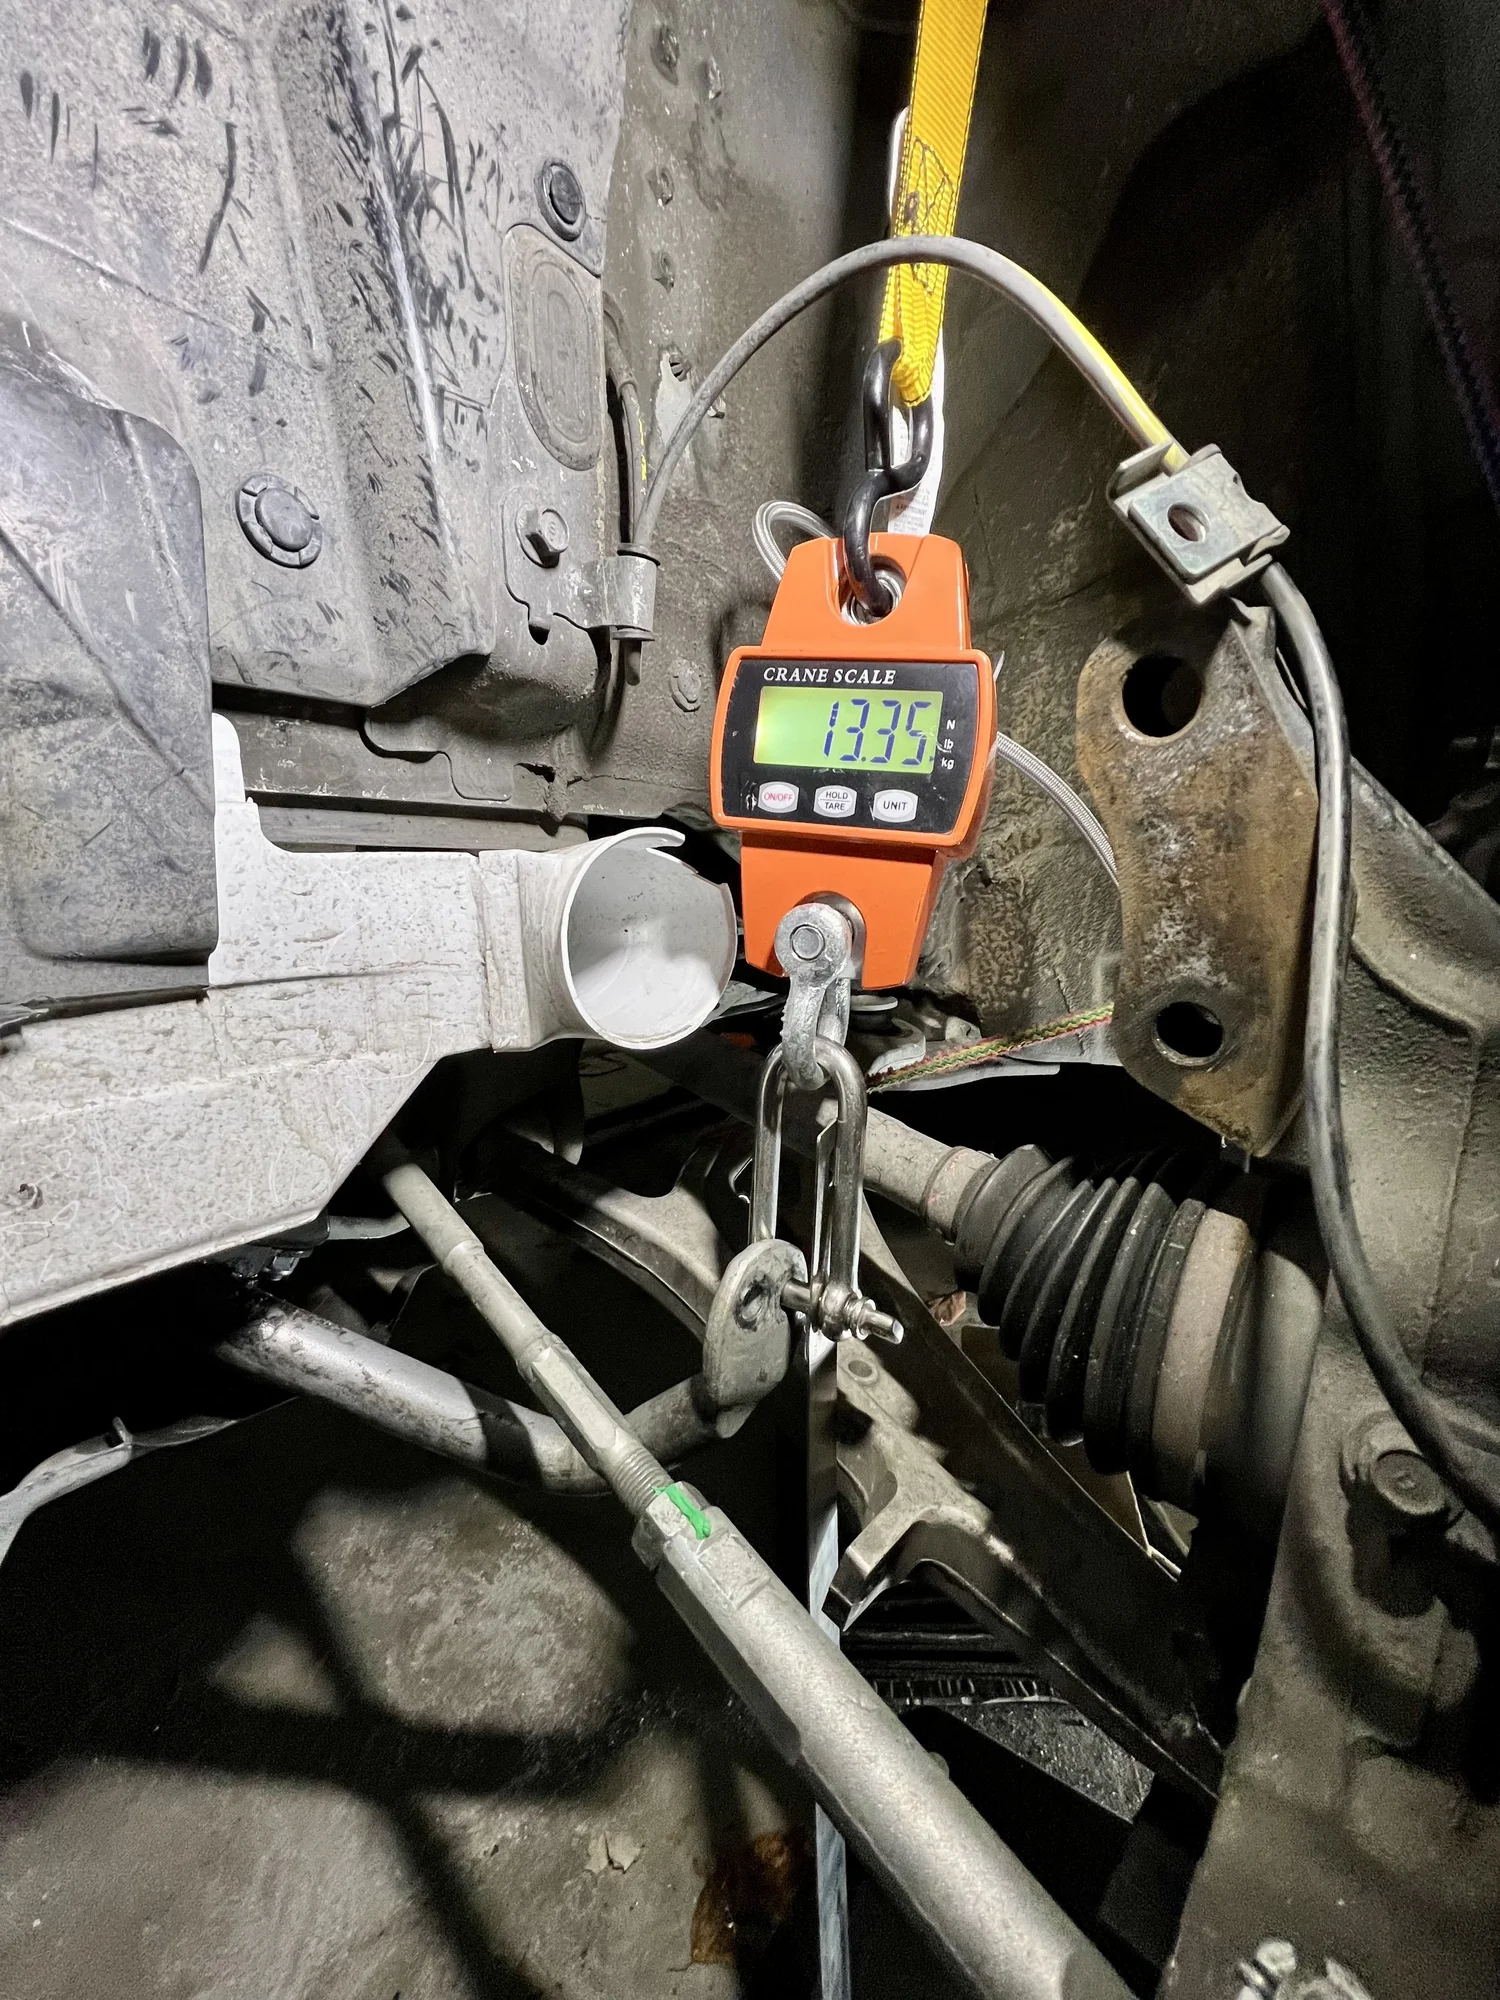
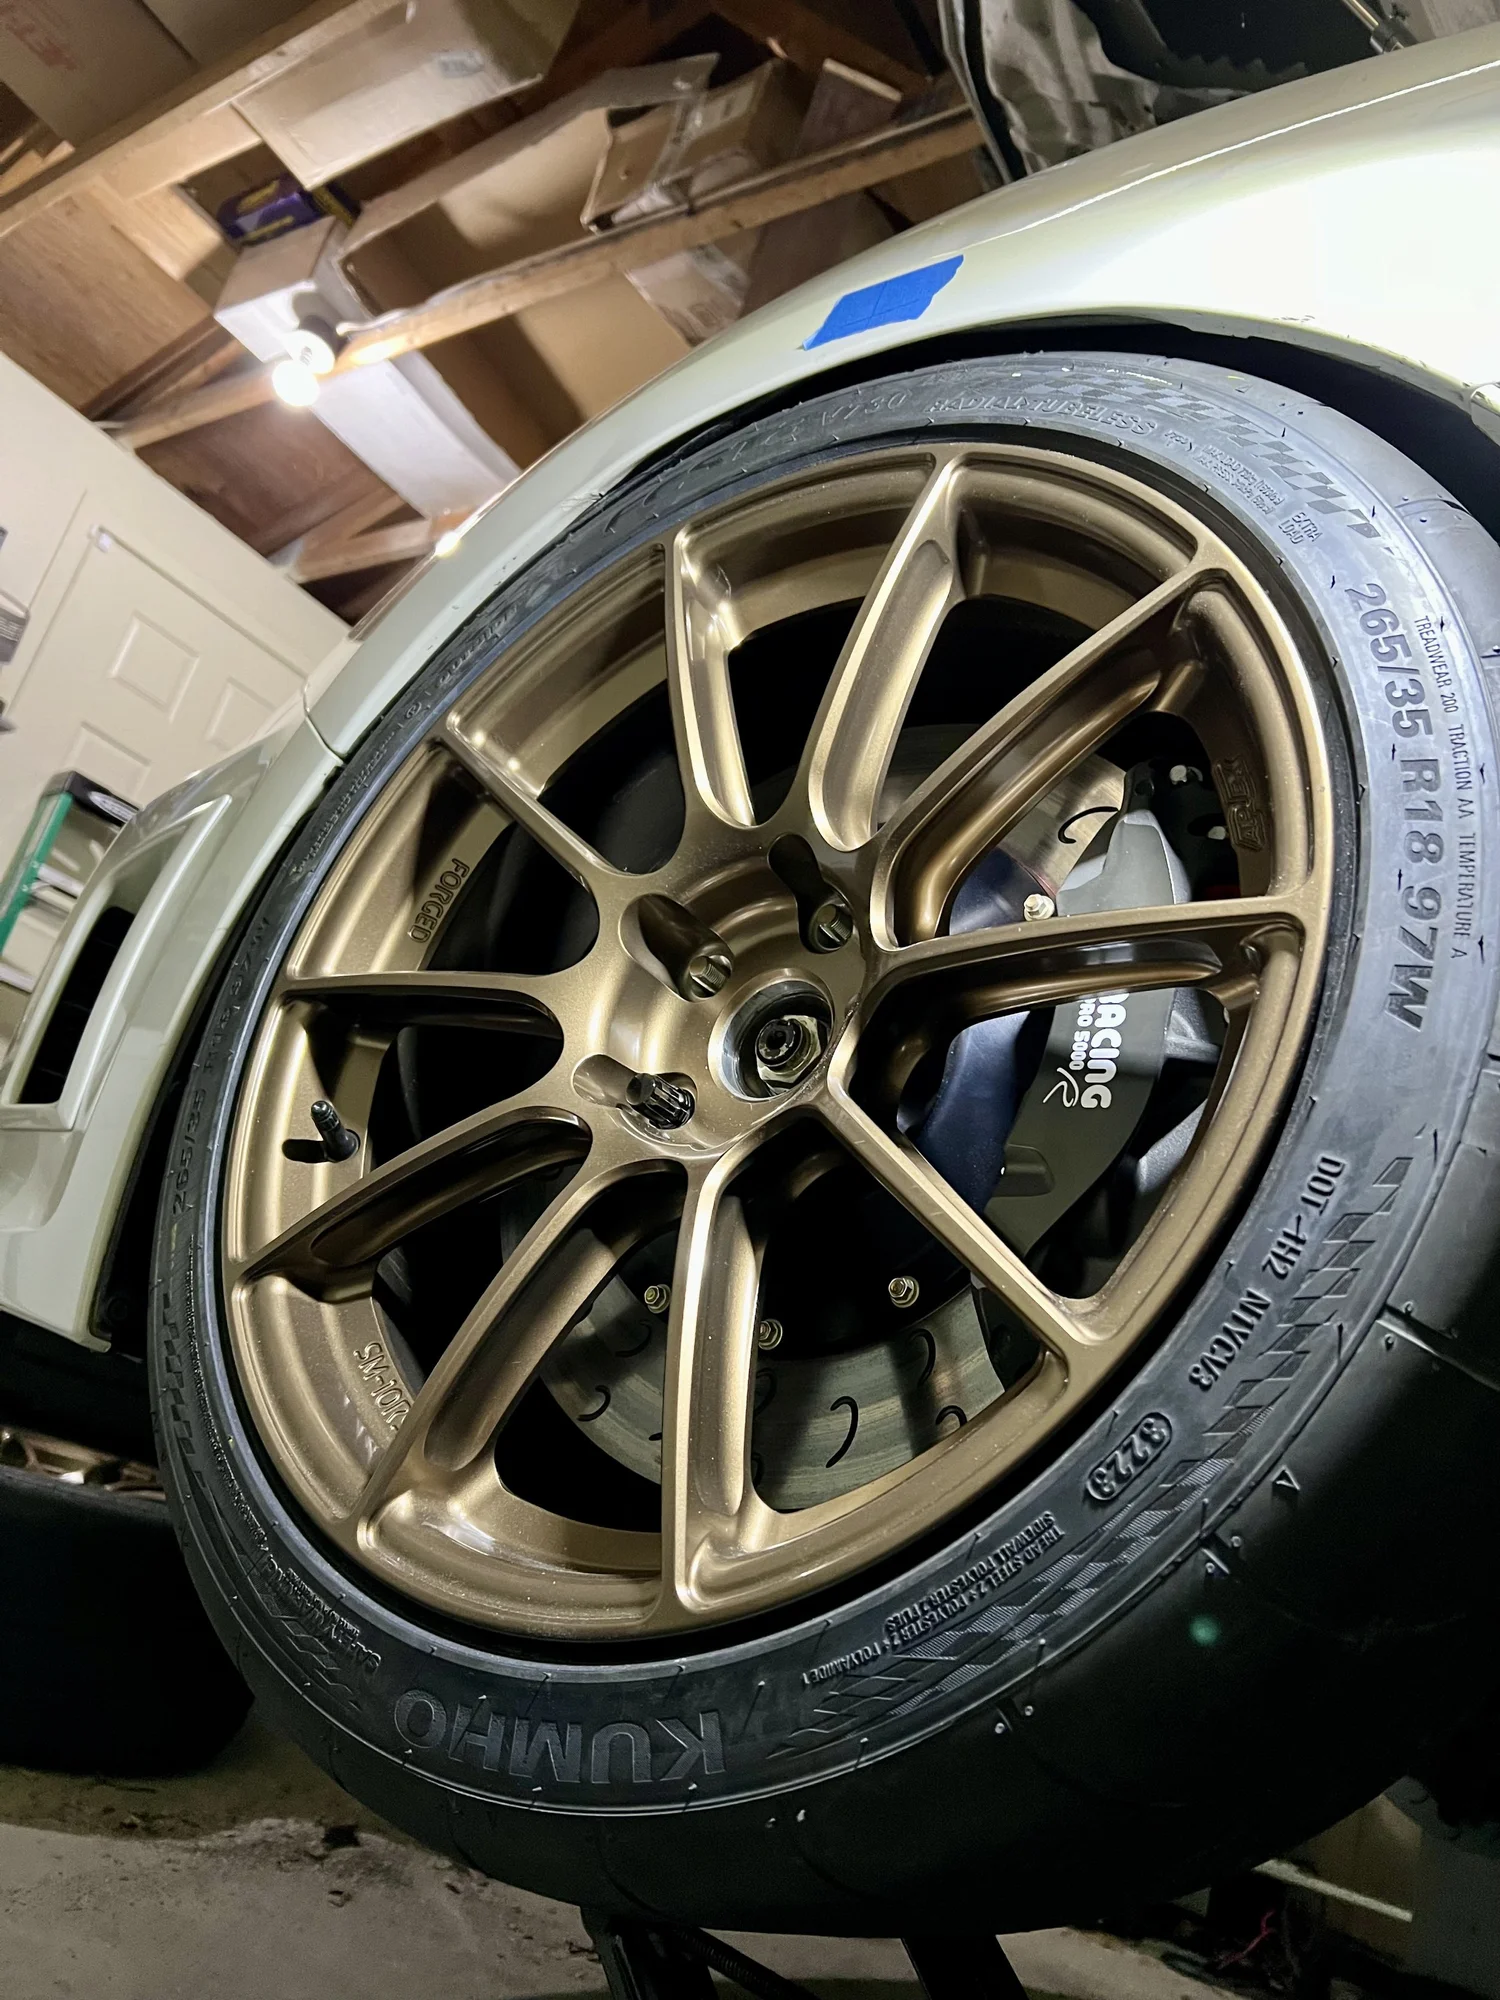
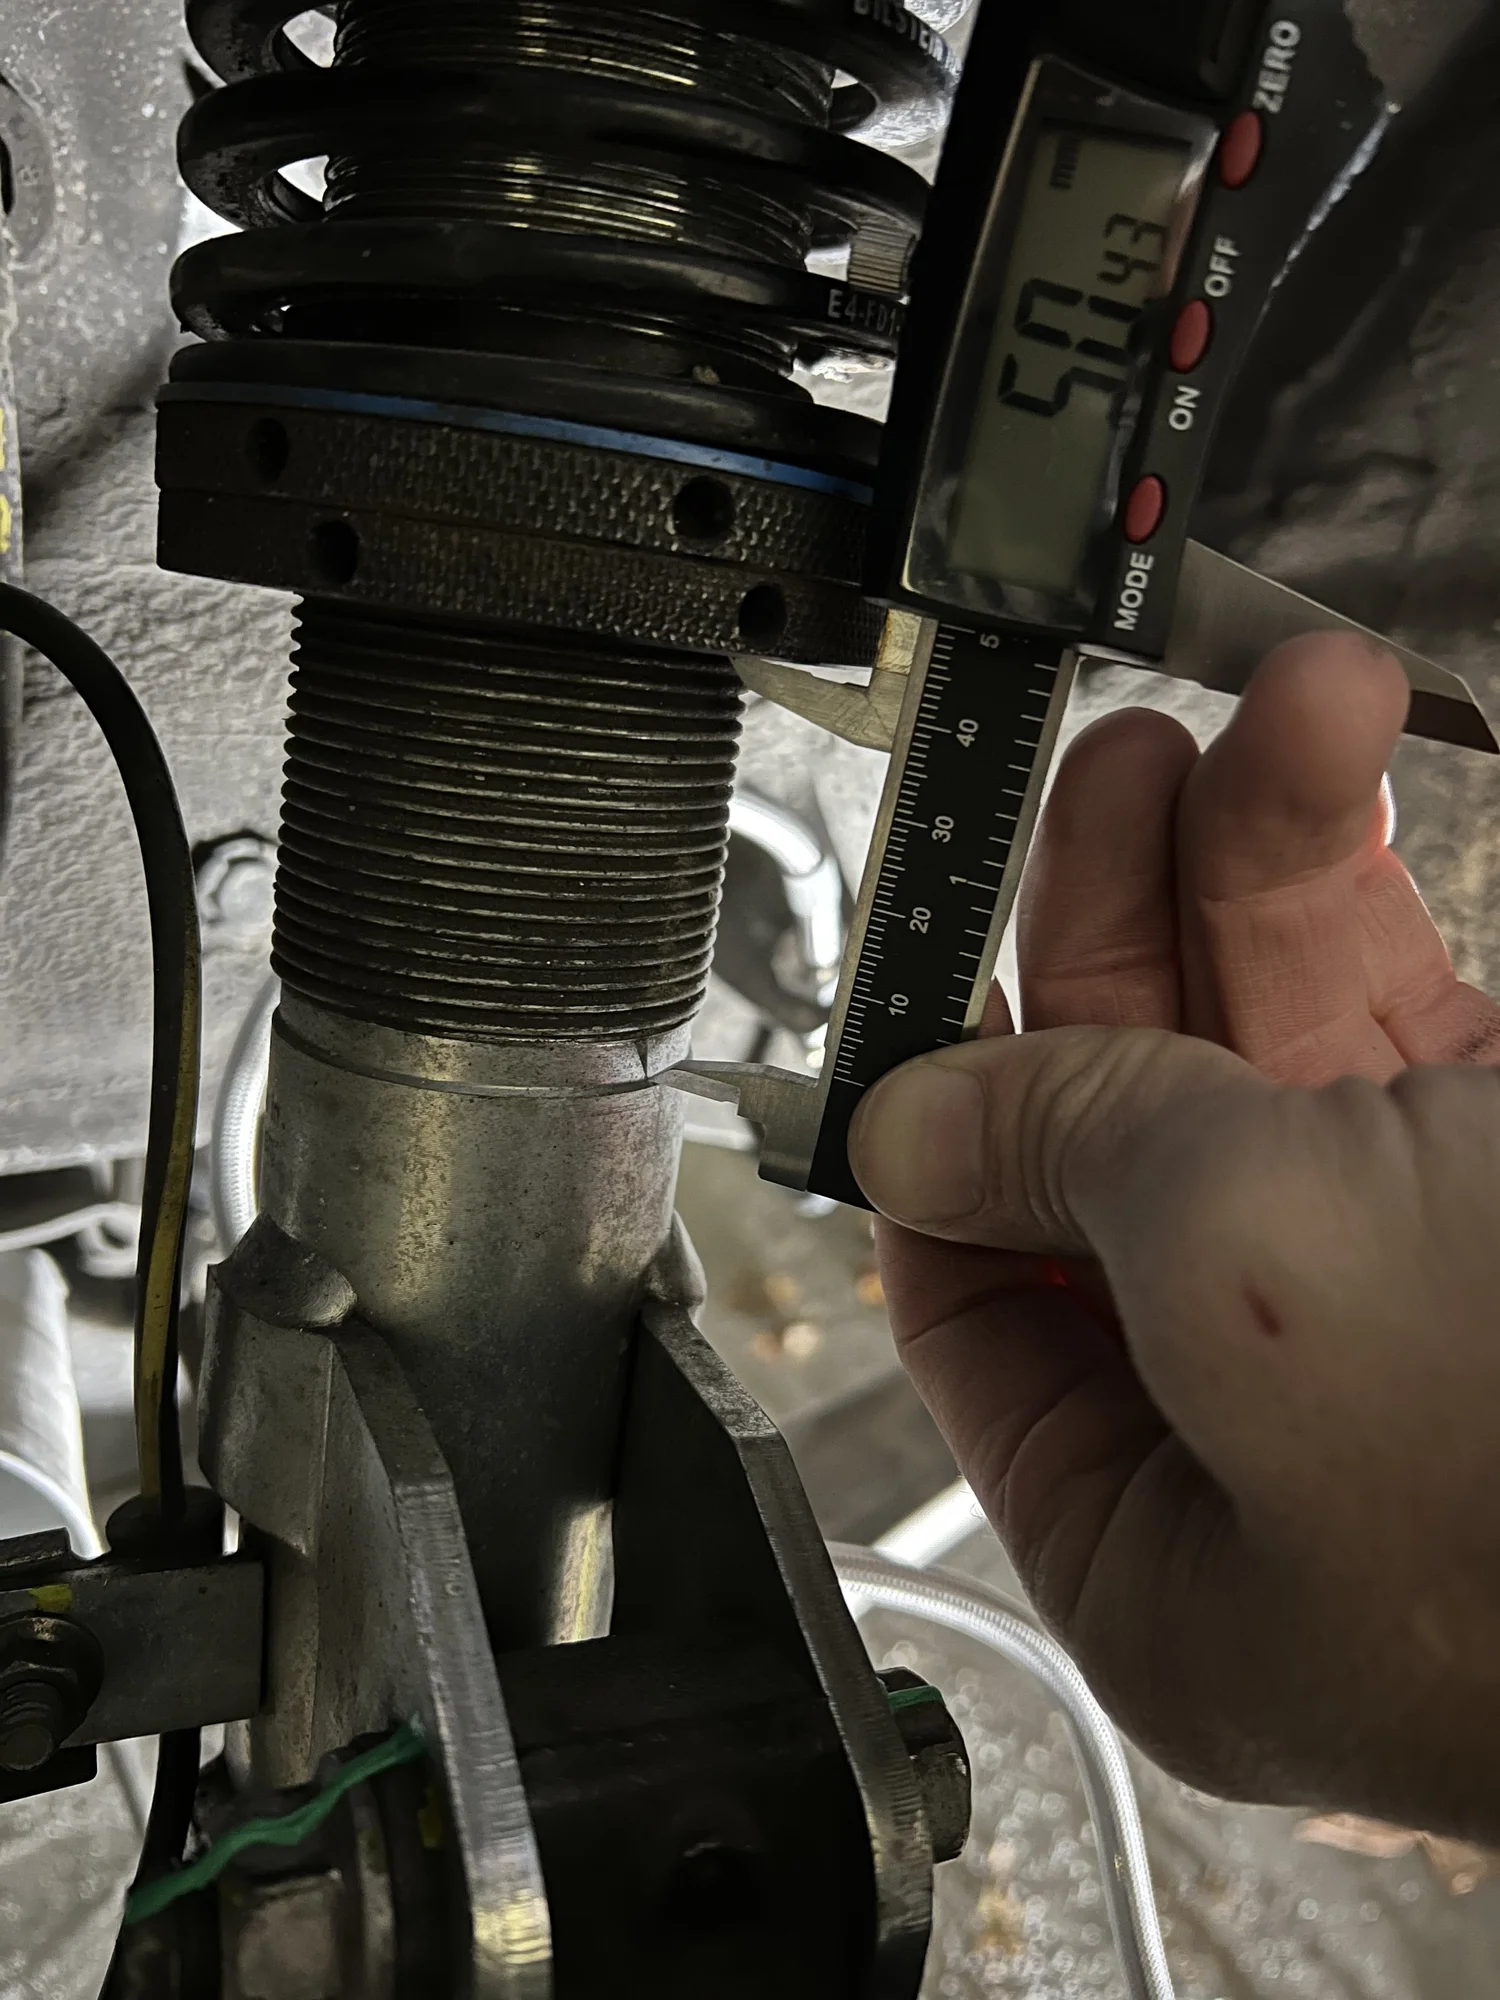
I spent two weeks of free time measuring the suspension motion ratios and anti-roll bar stiffness both front and rear. This will enable me to calculate Lateral Load Transfer Distribution (LLTD). Therefore, I can get useful information on how new suspension components or settings will affect the steady state handling of the car without having to change anything physically. This will enable me to focus on small fine-tuning adjustments at the track instead of going through the trial and error of major changes.
Measurements were done multiple times to verify the accuracy
The measurements were done with tape measures, a digital caliper, and a hanging scale. These tools have their limits, but all results were measured at least twice to confirm accuracy to the best of my ability.
I did not measure the Rear Soft Anti Roll Bar motion ratio early on due to a fitment issue. I was able to resolve the problem of measuring the soft setting stiffness but did not revisit the motion ratio. As you can see, the medium and hard rear anti-sway bar motion ratios are very similar. A linear extrapolation for the soft setting is close enough for my intended purposes.
These measurements were taken on a 2011 Subaru WRX STi with a 24 mm front Whiteline anti-roll bar and a 22 mm rear Whiteline anti-roll bar
Front anti-roll bar stiffness (Whiteline 24 mm)
Front position 55.5 N/mm avg
Aft position 54.7 N/mm avg
Front bar: front position
Position (mm)
Movement (mm)
Force (kg)
Force (N)
Stiffness (N/mm)
14
0
0.00
0.0
–
21
7
25.90
254.1
36.3
25
11
55.65
545.9
49.6
29
15
90.00
882.9
58.9
33
19
125.80
1,234.1
65.0
36.5
22.5
146.00
1,432.3
63.7
41
27
164.80
1,616.7
59.9
Average stiffness
55.5
Front bar: aft position
Position (mm)
Movement (mm)
Force (kg)
Force (N)
Stiffness (N/mm)
14
0
0.00
0.0
–
21
7
33.00
323.7
46.2
25
11
58.50
573.9
52.2
29
15
88.30
866.2
57.7
33.5
19.5
121.00
1,187.0
60.9
38.5
24.5
141.00
1,383.2
56.5
Average stiffness
54.7
The most notable finding during the suspension measurements is that the two holes on my 24mm front sway bar are effectively the same stiffness. The front may be marginally stiffer at large deflections.
Rear anti-roll bar stiffness (Whiteline 22 mm)
Soft 53.1 N/mm avg
Medium 61.1 N/mm avg
Hard 82.8 N/mm avg
Rear bar: soft
Position (mm)
Movement (mm)
Force (kg)
Force (N)
Stiffness (N/mm)
59
0
0.00
0.0
–
66
7
30.50
299.2
42.7
71
12
64.50
632.7
52.7
74
15
83.00
814.2
54.3
77
18
102.40
1,004.5
55.8
79
20
122.50
1,201.7
60.1
Average stiffness
53.1
Rear bar: medium
Position (mm)
Movement (mm)
Force (kg)
Force (N)
Stiffness (N/mm)
56
0
0.00
0.0
–
61
5
24.55
240.8
48.2
64
8
44.40
435.6
54.4
66
10
67.80
665.1
66.5
70
14
93.50
917.2
65.5
73
17
123.10
1,207.6
71.0
Average stiffness
61.1
Rear bar: hard
Position (mm)
Movement (mm)
Force (kg)
Force (N)
Stiffness (N/mm)
461
0
0.00
0.0
–
464
3
27.00
264.9
88.3
467
6
47.50
466.0
77.7
470
9
72.85
714.7
79.4
471.5
10.5
89.80
880.9
83.9
474
13
112.50
1,103.6
84.9
Average stiffness
82.8
The rear anti-roll bar stiffness setting demonstrated expected levels of increased rigidity between settings.
Front and rear anti-roll bars compared
Front bar, front position 55.5 N/mm avg
Front bar, aft position 54.7 N/mm avg
Rear bar, soft 53.1 N/mm avg
Rear bar, medium 61.1 N/mm avg
Rear bar, hard 82.8 N/mm avg
The most interesting finding was graphing the front and rear ARBs together. The front 24mm bar is similar in stiffness to the rear 22mm soft setting. This is most likely because of the extra bends that have to be made in the front ARB to fit the front sub frame. This is likely true on most vehicles because it is easier to package a rear sway bar that fits the ideal u shape for rigidity. The more the bars have to be bent to fit around steering components in the front, the more their stiffness is reduced.
Front motion ratios
Strut (wheel to strut)
Hub (mm)
Strut (mm)
Hub movement
Strut movement
Motion ratio (hub/strut)
470
595
–
–
–
451
615
19
20
0.950
430
636
21
21
1.000
406
660
24
24
1.000
388
679.5
18
19.5
0.923
373
696
15
16.5
0.909
Average motion ratio
0.956
Anti-roll bar, front position
Hub (mm)
ARB (mm)
Hub movement
ARB movement
Motion ratio (hub/arb)
470
157
–
–
–
451
147
19
10
1.900
430
136
21
11
1.909
406
123
24
13
1.846
388
112
18
11
1.636
373
106
15
6
2.500
Average motion ratio
1.958
Anti-roll bar, aft position
Hub (mm)
ARB (mm)
Hub movement
ARB movement
Motion ratio (hub/arb)
470
156
–
–
–
441
143
29
13
2.231
416
127
25
16
1.562
400
119
16
8
2.000
386
111
14
8
1.750
371
101
15
10
1.500
Average motion ratio
1.823
Rear motion ratios
Strut (wheel to strut)
Hub (mm)
Strut (mm)
Hub movement
Strut movement
Motion ratio (hub/strut)
512
264
–
–
–
488
245
24
19
1.263
467
227
21
18
1.167
446
210
21
17
1.235
426
192
20
18
1.111
407
176
19
16
1.188
387
159
20
17
1.193
376
150
11
9
1.222
Average motion ratio
1.197
Anti-roll bar, medium
Hub (mm)
ARB (mm)
Hub movement
ARB movement
Motion ratio (hub/arb)
512
212
–
–
–
492
202
20
10
2.000
472
190
20
12
1.667
453
179
19
11
1.727
433
167
20
12
1.667
417
158
16
9
1.778
Average motion ratio
1.768
Anti-roll bar, hard
Hub (mm)
ARB (mm)
Hub movement
ARB movement
Motion ratio (hub/arb)
512
212
–
–
–
488
199
24
13
1.846
468
188
20
11
1.818
448
176
20
12
1.667
435
167
13
9
1.444
426
162
9
5
1.800
Average motion ratio
1.783
Above is the motion ratio for the front and rear. The average is a simplification. Keep in mind that in reality, as can be seen in the data, the motion ratio changes somewhat as the wheel moves through its arc of travel. However, for my intentions of calculating basic LLTD, the average will work just fine. Also, you will find the same motion ratios for the front and rear anti-roll bars. Keep in mind the ARB motion ratios are only valid for a front 24mm Whiteline bar and a 22mm rear Whiteline bar for a GR STi. They are probably close enough for similar products by other manufacturers for the GR STi.